
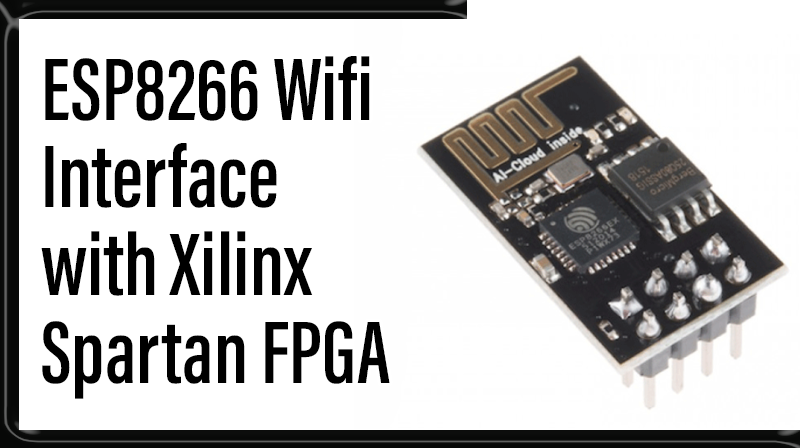
ESP8266 Wifi Interface with Xilinx Spartan FPGA
Implementation:
1.The Implementation process involves
2.Reading LM35 Temperature data through ADC
3.Initializing ESP8266 WIFI Module with AT Commands
4.Transmitting Temperature data to cloud server
5.Accessing Cloud Data through Personal Computing devices
Reading LM35 Temperature Data:
Spartan3an FPGA Starter Kit consists of On board 2 channels ADC with channel2 connected with LM35 temperature sensor. VHDL code is developed to perform analog to digital conversion, read the LM35 data as digital output and display it to the 2×16 LCD.
Initializing ESP8266 Wi-Fi Module
ESP8266 Wi-Fi Module is used to transmit the temperature data wirelessly to the Wi-Fi Modem at the other end with internet connection. ESP8266 Wi-Fi Module can be initialized using set of AT Commands.
Initialization process includes, checking the communication with ESP8266 to Spartan3an FPGA, searching for a Wi-Fi network within its range and connecting the Wi-Fi module to that network by getting authenticated with required credentials. After the initialization process, we have to program for configuring the Wi-Fi module as a TCP/IP client. While configuring the ESP8266, checking the acknowledgment is important to ensure that the module is configured correctly.
Transmitting Temperature data to cloud server
Transmitting temperature data involves communication with cloud server using IP Address. We used an open source data logger web site to reduce the implementation cost. we used one web site called “Thingspeak”. It provides a free user space for creating the data channels. Each channel will be having 8 fields to write the various data and it automatically plots the given data in a graphical representation.
We have to program for ESP8266 to send the required AT commands and to establish a connection between the system and thingspeak server. Once we created our channel for entering the data into web site, the channel will be allocated with one API key. So we have to
write the API key before writing the actual data, then the data will be stored and displayed in the required channel.
we have created one thingspeak channel and used 1 fields for Temperature Reading. The actual data obtained from the sensor will be first stored in a script and then the thingspeak server will automatically plots the data retrieving from the field which we have entered an integer data of temperature output.
Accessing Cloud Data through Personal Computing devices
To access the data from personal computing devices such Laptop, Tablet and Mobile Phone channel ID is required. Channel ID will be provided by Thingspeak.com when you create new channel. These channel ID can be changed to private or public depending on the application requirement.
Example Channel ID Will be like


kindly share the code
Hello ..
Thank you for your efforts in spreading knowledge and technology beautifully.
How can I get the full experiment with codes , to be implemented?
I have a spartan3an card.
Is it possible to communicate with your in case I have any problems, or I want to inquire about something about the fpga card?
With my thanks and appreciation.