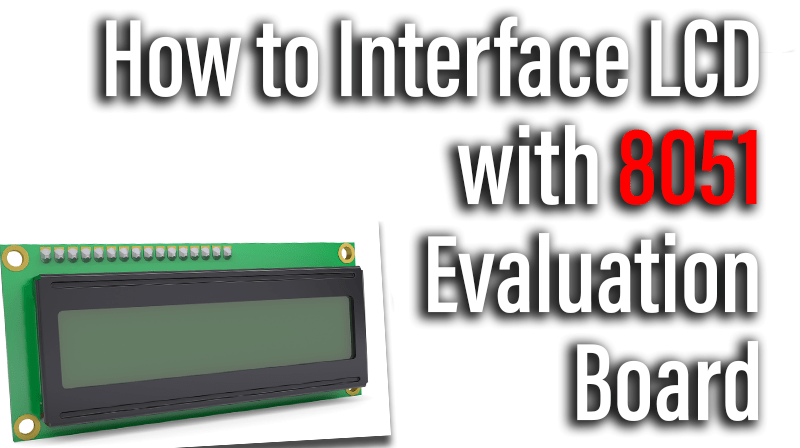
How to Interface LCD with 8051 Evaluation Board
8051 Evaluation Board
This is specifically designed to help students to master the required skills in the area of embedded systems. The kit is designed in such way that all the possible features of the microcontroller will be easily used by the students. The kit supports in system programming (ISP) which is done through serial port.
NXP’s 8051 (AT89V51RD2), 8051 Evaluation Board is proposed to smooth the progress of developing and debugging of various designs encompassing of speed 8-bit Microcontrollers.
LCD (Liquid Crystal Display)
Liquid Crystal Display also called as LCD is very helpful in providing user interface as well as for debugging purpose. A liquid crystal display (LCD) is a flat panel display that uses the light modulating properties of liquid crystals (LCs). LCD Modules can present textual information to user.
Interfacing LCD with 8051
Fig. 1 shows how to interface the LCD to microcontroller. The 2×16 character LCD interface card with supports both modes 4-bit and 8-bit interface, and also facility to adjust contrast through trim pot. In 4-bit interface 7 lines needed to create 4-bit interface; 4 data bits (D0 – D3), three control lines, address bit (RS), read/write bit (R/W) and control signal (E).
We now want to display a text in 8051 Evaluation Board by using 4 bit LCD module.
The 8051 Evaluation Board has seven numbers of LCD connections are needed to create 4-bit interface; connected with 4 data bits (P0.4 – P0.7, D4-D7), address bit (RS-P0.0), read/write bit (R/W-P0.1) and control signal (E-P0.2) to make LCD display.
Pin Assignment with 8051
Circuit Diagram to Interface 4 bit LCD with 8051
Source Code
The Interfacing 4 bit LCD with 8051 program is very simple and straight forward, which display a text in 2 X 16 LCD module using 4 data lines only. Some delay is occurring when a single command / data is executed.
C Program to display a text in 4 bit LCD using 8051
#include        //Define 8051 Registers
#include        //Define I/O Functions
#define DATA P0          //Define DATA to Port2
sbit RS   = P0^0;        //Register Select
sbit RW   = P0^1;        //LCD Read/Write
sbit lcd_e = P0^2;       //LCD Enable

code unsigned char msg[]   = (" PS.PRIMER-8051 ");    //Display
code unsigned char msg1[] = (" 2x16 LCD DEMO ");

//----------------------------------
//         LCD Functions
//----------------------------------
void lcd_init(void);
void lcd_cmd(unsigned char);
void lcd_display(unsigned char);
void DelayMs(int);

//----------------------------------
//       LCD command Function
//----------------------------------
void lcd_cmd(unsigned char cmnd)
{
    DATA = 0xf0&cmnd;                      //Masking lower 4 Bits
    RS = 0;  RW = 0;
    lcd_e = 1;
    DelayMs(35);
    lcd_e = 0;

    DATA = cmnd*16;                             //Masking lower 4
    RS = 0;  RW = 0;
    lcd_e = 1;
    DelayMs(35);
    lcd_e = 0;

}

//----------------------------------
//       LCD Data Function
//----------------------------------
void lcd_display(unsigned char dat)
{
    DATA = 0xf0&dat;                            //Masking lower 4
    RS = 1;  RW = 0;
    lcd_e = 1;
    DelayMs(35);
    lcd_e = 0;

    DATA = dat*16;                              //Masking lower 4
    RS = 1;  RW = 0;
    lcd_e = 1;
    DelayMs(35);
    lcd_e = 0;


}

//----------------------------------
//       LCD Delay Function
//----------------------------------
void DelayMs(int k)
    {
    unsigned int a;
    for(a=0;a<=k;a++);
    }

//----------------------------------
//       LCD Initialization
//----------------------------------
void lcd_init(void)
{
    unsigned char i;

         lcd_cmd(0x28);                     //2x16 Character 5x7
         DelayMs(15);  //matrix LCD,4-bit format
         lcd_cmd(0x0c);
         DelayMs(15);
         lcd_cmd(0x06);                                     //Shift
         DelayMs(15);
         lcd_cmd(0x01);
         DelayMs(15);

//-------------------------------------------
//       First Line Message Display
//-------------------------------------------
         lcd_cmd(0x80);
    DelayMs(35);
         i=0;
         while(msg[i]!='\0')
         {
             lcd_display(msg[i]);
             i++;
         }
    DelayMs(50);

//-------------------------------------------
//       Second Line Message Display
//-------------------------------------------
         lcd_cmd(0xc0);                                     //Second
         DelayMs(35);
         i=0;
         while(msg1[i]!='\0')
         {
             lcd_display(msg1[i]);
             i++;
         }
    DelayMs(50);
}


//----------------------------------
//       LCD Main Program
//----------------------------------
void main(void)
{
    P0 = 0;
    lcd_init();         //LCD Initialization
    DelayMs(1);
    DelayMs(1);
    while(1);            //Loop Forever
}