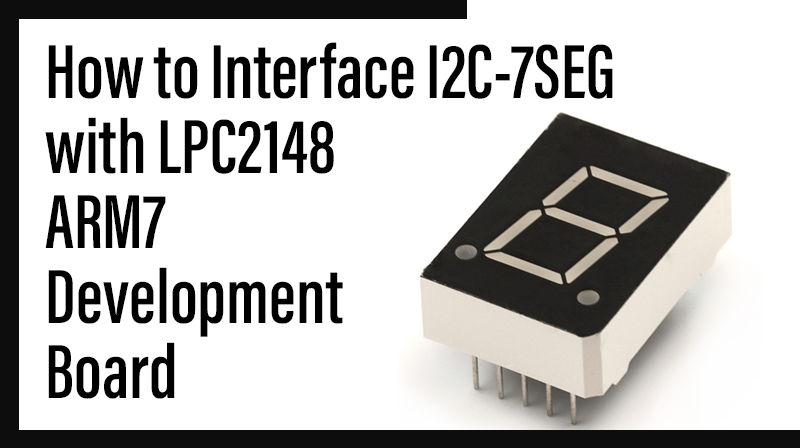
How to Interface I2C-7SEG with LPC2148 ARM7 Development Board
The ARM7 LPC2148 Development Board is specifically designed to help students to master the required skills in the area of embedded systems. The kit is designed in such way that all the possible features of the microcontroller will be easily used by the students. The kit supports in system programming (ISP) which is done through serial port.
NXP’s ARM7 ( LPC2148), ARM Development Kit is proposed to smooth the progress of developing and debugging of various designs encompassing of High speed 32-bit Microcontrollers.
I2C (Inter Integrated Circuit)
The I2C (Inter-IC) bus is a bi-directional two-wire serial bus that provides a communication link between integrated circuits (ICs).I2C is a synchronous protocol that allows a master device to initiate communication with a slave device. Data is exchanged between these devices.
Seven Segment Display
A seven segment display is the most basic electronic display device that can display digits from 0-9. The most common configuration has an array of eight LEDs arranged in a special pattern to display these digits. They are laid out as a squared-off figure ‘8’. Every LED is assigned a name from ‘a’ to ‘h’ and is identified by its name. Seven LEDs ‘a’ to ‘g’ are used to display the numerals while eighth LED ‘h’ is used to display the dot/decimal.
Interfacing I2C – Seven Segment Display
Fig. 1 shows how to interface the seven segments with microcontroller through I2C. I2C is a Master-Slave protocol. I2C has a clock pulse along with the data. Normally, the master device controls the clock line, SCL. This line dictates the timing of all transfers on the I2C bus. No data will be transferred unless the clock is manipulated. All slaves are controlled by the same clock, SCL.
A seven segment is generally available in ten pin package. While eight pins correspond to the eight LEDs, the remaining two pins (at middle) are common and internally shorted. These segments come in two configurations, namely, Common cathode (CC) and Common anode (CA). In CC configuration, the negative terminals of all LEDs are connected to the common pins. The common is connected to ground and a particular LED glows when its corresponding pin is given high. In CA arrangement, the common pin is given a high logic and the LED pins are given low to display a number.

Interfacing I2C – Seven Segment with LPC2148
We now want to display a four digit number in LPC2148 Development Board by using seven segment displays. The seven segment display is connected with LPC2148 controller through I2C.
In LPC2148 Development Kit, 4 nos. of common anode seven segment displays are controlled by I2C Enabled drivers. I2C Lines serial clock SCL (P0.2), serial data SDA (P0.3) connected to the I2C based 7-segment display driver. The digit select lines are (MX1, MX2) controlled by the driver chip. The 7-segmend display is powered from the 5V power supply enabled by switch SW28.
Pin Assignment with LPC2148
Circuit Diagram to Interface I2C–7 seg with LPC2148

Source Code
The Interfacing I2C – seven segment displays with LPC2148 program is very simple and straight forward, that display a four digit number in seven segment display by using I2C.The C programs are developed in Keil software.
C Program to I2C – 7 Segment Display using LPC2148
***********************************************************************************************
Title : Program to I2C – Seven Segment display
***********************************************************************************************
#include
#include
#define MAX	6
#define	AA		2
#define	SI		3
#define	STO		4
#define	STA		5
#define	I2EN	6
//<<<<<<<<<<<<<<<<<<<<<<<<<<<<<<<<<<<   Declarations  >>>>>>>>>>>>>>>>>>>>>>>>>>>>>>>>>>>>>>>>>>
void I2C_ISR(void)__irq;
void Wait (unsigned int);
void I2C_Init (void);
int I2C_Start (void);
int I2C_Write (unsigned char *Buff, unsigned int Count);
unsigned char Buff[]	=	{0x00,0x27,0x3F/*0*/,0x06/*1*/,0x5B/*2*/,0x4F/*3*/};
unsigned char index		=	0;
void Delay(void)
{
	unsigned int i,j;
	for(i=0;i<20;i++)
		for(j=0;j<200;j++);
}

void Wait (unsigned int Delay)
{
	while(Delay--);
}

void I2C_Init (void)
{
	I2C0SCLH	=	150;		//50%duty cycle .....   I2C Frequency ->100 KHz for PCLK = 30MHz
	I2C0SCLL	=	150;
	I2C0CONSET	=	1 << I2EN;	//Enable I2C 0

}

int I2C_Start (void)
{
	I2C0CONCLR	=	1 << STO;
	I2C0CONCLR	=	1 << AA;

	I2C0CONSET	=	1 << STA;

	return 0;
}

int I2C_Write (unsigned char *Buff, unsigned int Count)
{
	while(Count--)
	{
		I2C0DAT		=	*Buff++;
	}
	return 0;
}
//<<<<<<<<<<<<<<<<<<<<<<<<<<<<<<<<<<<   Main Function  >>>>>>>>>>>>>>>>>>>>>>>>>>>>>>>>>>>>>>>>>>

void main()
{
	unsigned int i;

	VPBDIV	=	0x02;
	PINSEL0		=	0x00000055;			// P0.3 - SDA0 and P0.2	- SCL0

	U0LCR	=	0x83;
	U0DLL	=	97;
	U0DLM	=	0x00;
	U0LCR	=	0x03;

	VICIntSelect	= 0<<9;
	VICVectCntl0 	= 0x020 | 9 ;
	VICVectAddr0 	= (unsigned long)I2C_ISR;
	VICIntEnable 	= 1<<9;

	/*	Before the master transmitter mode
		can be entered, the I2CONSET register must be initialized
	*/

	I2C_Init();

	I2C_Start ();

	for (i=0;i<30;i++)	Wait(10000);

	I2C0CONCLR	=	1 << SI;

	while(1)
	{
		for (i=0;i<20;i++)	Wait(10000);
	}

}

void I2C_ISR(void) __irq
{
	if (I2C0CONSET & 0x08)
	{


		switch (I2C0STAT)
		{
			case (0x08)	:	I2C0CONCLR	=	1 << STA;
							I2C0DAT		=	0x70;		//Slave Addr + W
							break;

			case (0x10)	:	I2C0CONCLR	=	1 << STA;		//Clear START Bit
							I2C0DAT		=	0x70;		//This Status is recieved if "Repeated START" is txd

							break;

			case (0x18)	:	I2C0CONCLR	=	0x20;		//Clear START Bit
							I2C0DAT		=	Buff[index];
							index++;
							break;

			case (0x20)	:	I2C0CONCLR	=	0x20;		//Clear START Bit
							I2C0DAT		=	Buff[index];
							index++;
							break;

			case (0x28)	:	I2C0CONCLR	=	0x20;		//Clear START Bit
							if (index < MAX)
							{
								I2C0DAT		=	Buff[index];
								index++;
							}
							else
							{
								index = 0;
								I2C0CONSET	=	0x10;		//Send STOP Bit
							}
							break;

			case (0x30)	:	I2C0CONCLR	=	0x20;		//Clear START Bit
							if (index < MAX)
							{
								I2C0DAT		=	Buff[index];
								index++;
}
							else
							{
								index = 0;
								I2C0CONSET	=	0x10;		//Send STOP Bit
								I2C_Start();
							}
							break;

			case (0x38)	:	I2C0CONSET	=	0x20;
							break;
		}
	}
	I2C0CONCLR	=	1 << SI;
	VICVectAddr	=	0x00;
}
To compile the above C code you need the KEIL software. They must be properly set up and a project with correct settings must be created in order to compile the code. To compile the above code, the C file must be added to the project.
In Keil, you want to develop or debug the project without any hardware setup. You must compile the code for generating HEX file. In debugging Mode, you want to check the port output without LPC2148 Development Board.
The Flash Magic software is used to download the hex file into your microcontroller IC LPC2148 through UART0.
Testing the I2C – Seven segment with LPC2148
Give +3.3V power supply to LPC2148 Development Board; the four seven segment display is connected with the LPC2148 Development Board. First check the entire seven segments LED’s are properly working or not.
Here we are display just 1234 in four seven segment. The entire seven segments receive it through I2C & display it in order.
If any data is not coming in seven segments, then you just check the entire seven segments LED’s are working or not. Change the seven segment driver IC & Check the I2C connections. Check the four seven segments connections. Otherwise you just check the code with debugging mode in Keil. If you want to see more details about debugging just see the videos in below link.
☞ How to Create & Debug a Project in Keil.
General Information
☞For proper working use the components of exact values as shown in Circuit file. Wherever possible use new components.
☞Solder everything in a clean way. A major problem arises due to improper soldering, solder jumps and loose joints.
☞Use the exact value crystal shown in schematic.
☞More instructions are available in following articles,
How to Interface LCD with LPC2148 ARM7 Evaluation Board
Creating & Debugging a Project in KEIL
How to Interface UART with LPC2148 ARM7 Development Board
User Manual ARM7-LPC2148 Development Kit
Pin Assignment with LPC2148