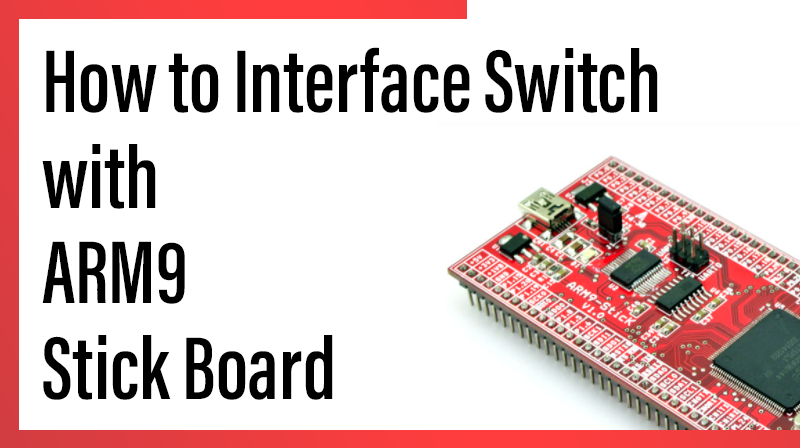
How to Interface Switch with ARM9 Stick Board
ARM9-LPC2929 STICK BOARD
The is specifically designed to help students to master the required skills in the area of embedded systems. The board is designed in such way that all the possible features of the microcontroller will be easily used by the students. The board supports Keil µVision 4 compilers with Keil ULink2.
NXP Microcontroller,ARM9-LPC2929 stick board is proposed to smooth the progress of developing and debugging of various designs encompassing of speed 32-bit Microcontrollers. It integrates CAN, LIN, UART, ADC, PWM, I2C, SPI, Timer, Interrupt etc., to create a stand-alone versatile test platform.
ARM9 Stick Board having more no of I/O line for user access able. Its consists of 64 GPIO pins, CAN0/1, LIN1, I2C0/1, UART0/1, SPI0/1, USB, ADC0/1/2, PWM, Timer and more features. Users can easily access the controller and develop more application by using
Switch
A switch is an electrical component that can break an electrical circuit, interrupting the current or diverting it from one conductor to another. A switch may be directly manipulated by a human as a control signal to a system, or to control power flow in a circuit.
Interfacing Switch with ARM9 Stick Board
The circuit diagram shows how to interface the switch to microcontroller. A simple switch has an open state and closed state. However, a microcontroller needs to see a definite high or low voltage level at a digital input.
A switch requires a pull-up or pull-down resistor to produce a high or low voltage when it is open or closed. A resistor placed between a digital input and the supply voltage is called a “pull-up” resistor because it normally pulls the pin’s voltage up to the supply. This ARM9-LPC2929 Microcontroller has internal pull up as well as pull down, we have to enable any logic by using register SFPS Register.
Circuit Diagram for Interface Switch with ARM9 Stick Board
Example for Interface Switch with ARM9 Stick Board
Program to switch ON and OFF LED using ARM9 Stick Board
Title : Program to ON/OFF LEDs controlling by switches
#include  //Register Description Header for LPC2929


#define SW1 0x20

#define SW2 0x40

#define LED1 0x01

#define LED2 0x02


int main() // Main function


{

int SW_Read;

SFSP1_5 = 4; // P1.5 select as Digital IN without PU & PD

SFSP1_6 = 4; // P1.6 select as Digital IN without PU & PD


GPIO1_DR &= ~SW1|SW2; // set as Input direction

GPIO3_DR |= LED1|LED2; // set as Output direction

SW_Read = GPIO1_PINS & 0x60; // Read switch data

GPIO3_OR = SW_Read >>5; // Write switch data

}