How to install Operating System (OS) in Raspberry Pi
SOFTWARE REQUIRED FOR BOOTING OS INTO THE SD CARD
- SD Card Formatter
- Win32 Disk Imager
PROCEDURE FOR BOOTING OS INTO THE SD CARD
- Download the Raspbian Stretch OS from the official websites
- Download Pre-installed Library OS from our Site
Raspbian stretch OS – ClickHere
- Insert SD card in Card reader plug it into laptop/PC
- Download SD-Card Formatter as well as Win32-Disk Imager software for Booting OS into the SD card
- Open SD card formatter
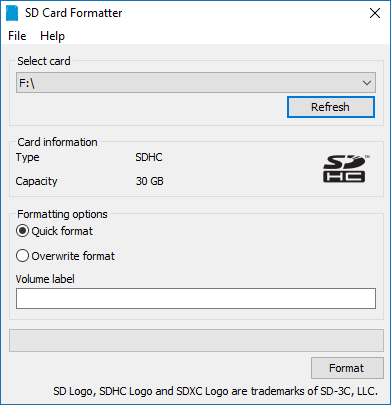
- After it detects the SD card, keep that quick format option and click Format
- After format completed close SD card formatter
- To Write that OS file (.img file) into the SD card, open “Win32 Disk imager” software.
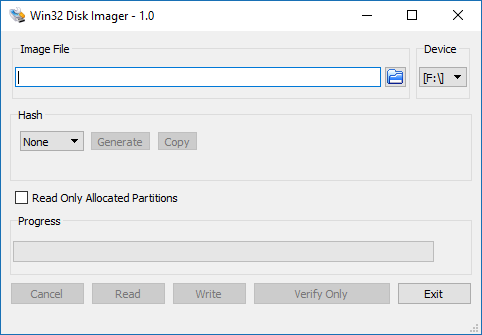
- Click Browse option to choose your OS file (.img file) from your downloads
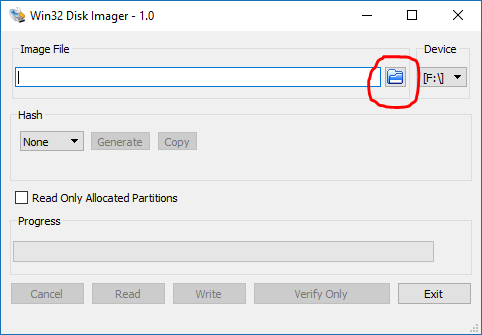
- After choosing the OS file click “Write” to burn that OS into the SD card
- After writing is completed, SD card is ready to run the OS
- Now insert the SD card into the Raspberry Pi for starting up
- Plug the 5-volt USB cable or Charger for power supply for Raspberry Pi
- Plug the USB keyboard, mouse to the USB port of the raspberry pi
- Connect the Monitor to raspberry pi using VGA to HDMI converter
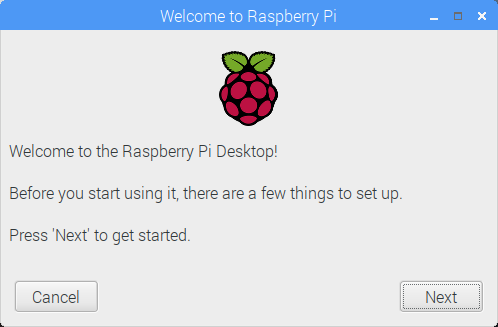
- Just choose initial startup like language, password etc.
- For Wi-Fi click, the Wi-Fi icon looks like below
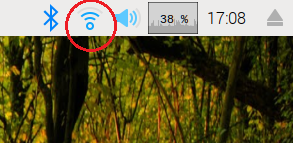
- Click it and enter the Password for your SSID
- Similarly, for Bluetooth click that Bluetooth icon