

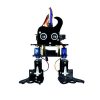


Arduino Controlled Robotic arm
₹2,999.00 Exc Tax
Gesture Controlled Robot ARM-This arduino robot arm uses both arduino kit and robotic arm.
Shipping : 4 to 5 days from the date of purchase
Out of stock
Description
INTRODUCTION
WHY A ROBOT ARM?
Learning any new skill is always a challenge. Arduino can be particularly daunting because you’re essentially learning how to build entire electronic devices from scratch. It requires learning several new skills all at once: electricity, breadboarding, coding, sensors, servos, remote controls, assembly, and more.
Any of these skills can be hard to learn on their own. While there are a wealth of tutorials online, it’s important to have a single, overarching goal that you can work towards. We also know that your brain learns better when you spread out your learning over time. Having something you’re excited about couldn’t hurt.
Building a robot arm is a long-term project that can cover all these needs at once. I’ve personally been attempting to learn Arduino projects off-and-on for the last nine months or so, and in that time, the robot arm has been the best learning experience I’ve had, particularly because:
- It’s comprehensive: Finding a first project is hard. Finding one that will actually teach you something is even harder. You can build an LED circuit fairly easily, but then all you have is an LED circuit. Learning to build a robot arm will teach you how to breadboard a circuit, how to program your Arduino, and how to work with moving parts. In the end, you’ll have a real, physical thing that does what you program it to do. Not just a proof-of-concept light that turns on when you press a button.
- It’s expandable: If Iron Man’s 45 different suits taught us anything, it’s that you can always improve a robot. This robot arm kit starts with some basic fundamental skills, but you can build on it with a wide variety of expansions. You can add remote controls (like Infrared or Bluetooth), and even learn how to expand your Arduino’s capabilities with extra shields. Just ask “What else can I make this do?” and you can find all sorts of new skills to learn without starting a new project over from scratch.
- It’s friggin’ cool: Chances are, if you’re even reading this far, it’s because the thought of having your very own robot excites you. Robots are cool. They can also feel futuristic and inaccessible. If learning is better when you’re excited about what you’re learning, then it’s hard to beat a robot arm to break into the Arduino world.
All that being said, this doesn’t necessarily mean that this should be your first ever project. It can be! But if you’ve never touched a circuit board, it’s okay to take it slow. Don’t think of the robot arm as your first step. Think of it as your final exam. As soon as you get a good Arduino starter kit, you should try a couple basic things like plugging an LED into a breadboard or controlling it with a button, just to get the hang of it. You can probably skip the Love-O-Meter project, though.
Most importantly, Google everything. Remember, this is a long-term project. We’re not going to walk you through every step, but we will show you the building blocks you need to get there. Don’t expect to start with no experience on Friday and finish with a remote-controlled, sentient robot by Sunday. We’ll have plenty of links to guides throughout this article, and we fully expect that you’ll leave here, follow those guides for a few hours, and come back. Think of this less like a step-by-step manual and more like a map. If you get a little lost along the way, don’t be afraid to stop and ask for directions.
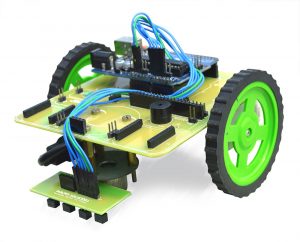
SPECIFICATION
- Driver : L293D with PCB
- Manual Control : 4 DPDT switches
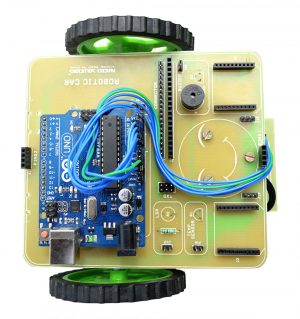
- Controller : Arduino UNO
- Material : LASER cut acrylic
- Assembly : Build it yourself
- Motors : 4 DC geared BO motors (60 RPM)
- Operating voltage : 3-9v DC
- Documents provided : Simple step by step assembly manual, Connection diagram
- Dimension :Please refer the dimension in manual
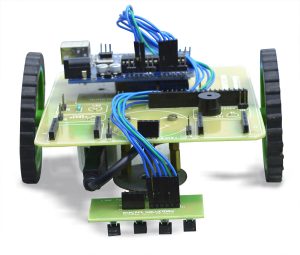
HOW IT WORKS?
STEP 1: BUILD – Assemble the robotic Arm. Its very easy to build the arm using assembly manual provided with the kit.
STEP 2: CONNECT – Connect 4 motors of robotic arm with 4 switches or controller and power supply as per connection diagram provided with the kit.
STEP 3: USE – You are done with your robotic arm. Enjoy with your arm
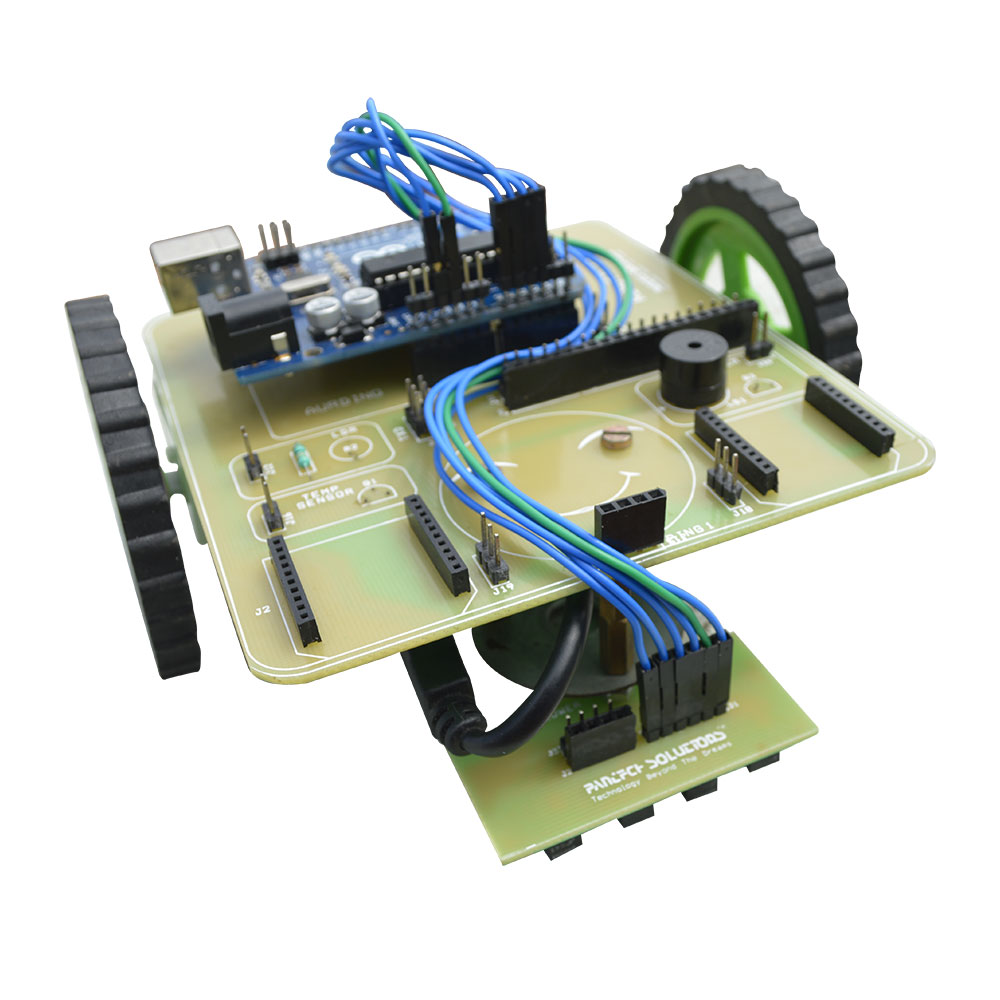
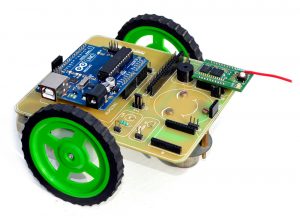
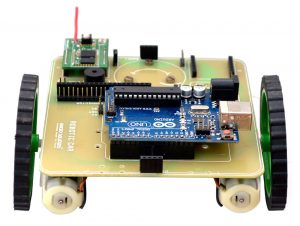
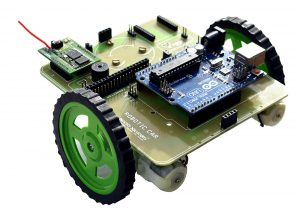
IMAGES


Additional information
| Weight | 1.000000 kg |
|---|
Related products
-
-
Read more

- Arduino Mini Projects , Robotics
Line follower robot
- Call for Price
-

-

-

-

-
-
-
Read more

- Robotics
Bluetooth controlled Robot
- Call for Price
-

-

-

-

-

-
-
- Out of StockRead more

- Robotics
Wifi Controlled robot
- Call for Price
-

-


Reviews
There are no reviews yet.